Categorias
When a container of frame tents arrives at your warehouse, the first few hours of inspection determine whether you have a usable relief camp or a storage problem. A quick count of cartons is not enough — missing poles, torn fabric, or wrong fittings can stop deployment dead. This guide explains how to inspect frame tents step by step, what to check, and how to record findings so issues get resolved fast.
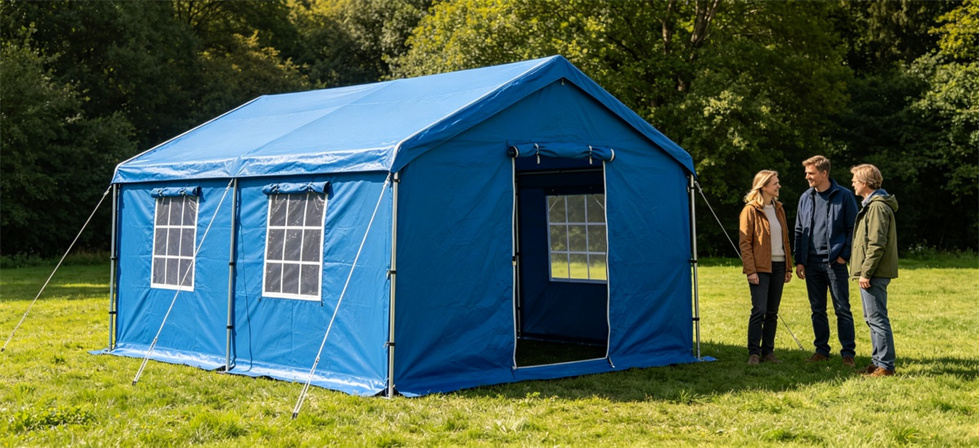
Whether you are a government procurement officer, an NGO logistics coordinator, or a camp manager, these inspection steps apply to any bulk steel frame tent order from 50 to 5000 units. The same principles work for small 12m² family shelters and large 60m² storage tents — only the scale changes.
A frame tent uses a rigid metal pole structure (usually galvanised steel) that supports a separate fabric cover. Unlike inflatable tents, they do not need a pump. Unlike pole tents, they have internal frames that hold their shape without guy ropes on every side.
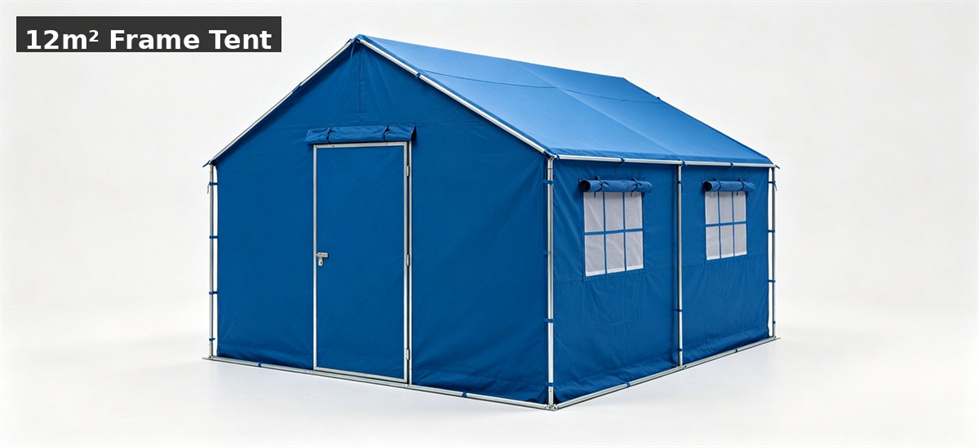
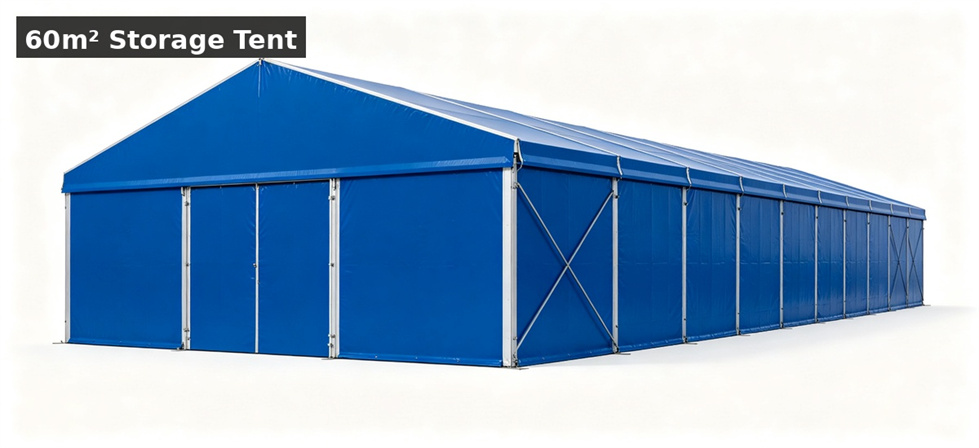
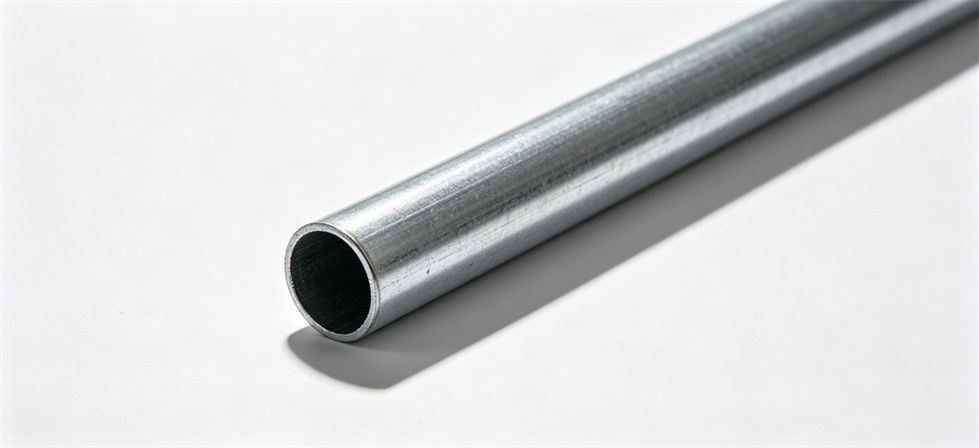
Standard relief frame tents come in sizes from 12m² (3.7 × 3.2m, 3-4 people) up to 60m² (6 × 10m, storage or command use). The frame is typically 25mm diameter galvanised steel tube with 1.0mm wall thickness, and the cover is 350 to 600g/m² PVC-coated oxford fabric with a 2000 to 5000mm waterproof rating.
A complete frame tent set includes four groups: the frame (poles, joints, feet), the cover (roof and walls), accessories (pegs, guy ropes, door poles), and documents (packing list, setup instructions). An inspection checks all four groups.
Good receiving starts before the truck arrives. Set up a dedicated area with enough space to open cartons and lay out components. Have these ready:

Key point: Never inspect on the truck bed or in a dark corner. Move cartons to a clean, well-lit area where you can spread out the contents and see every component.
The outer carton or bundle is your first warning sign. Walk through the shipment and look for:

Record any damaged carton by number and take a photo. Do not reject the whole shipment because one carton is damaged — open it and check the contents first. A crushed box may still have perfect tent parts inside.
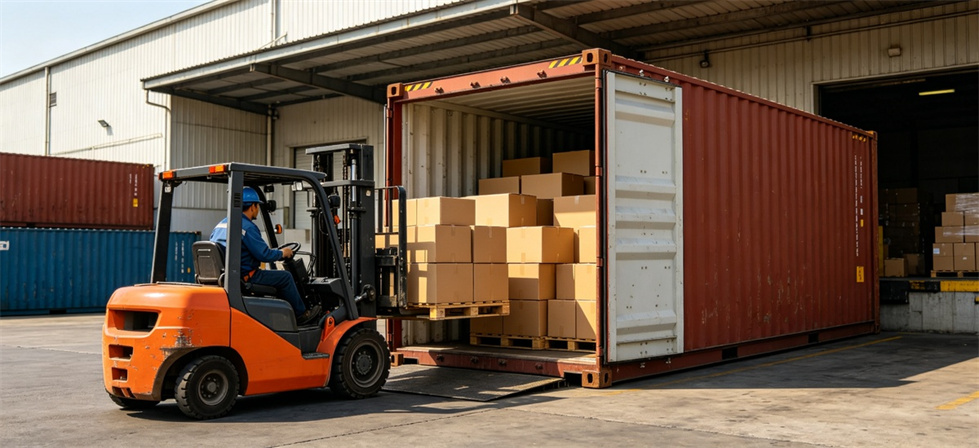
Count the total number of cartons, bundles, and loose packages. Compare this to the supplier's packing list. Frame tents often ship in separate groups — frame parts in one carton, the cover in another, accessories in a third.
|
Packing Group |
Typical Contents |
What to Count |
|
Frame carton |
Steel poles, joints, feet, connectors |
Number of poles, diameter, length, joint type |
|
Cover bundle |
Roof cover, wall panels, door flap |
Fabric weight label, size, colour, condition |
|
Accessory bag |
Pegs, guy ropes, hammer, repair kit |
Count each item type separately |
|
Document envelope |
Packing list, setup instructions, test reports |
Check each document is present and matches this model |
If the carton count matches but you suspect incomplete sets, open several cartons from different positions in the container — not just the ones at the door. Suppliers sometimes pack incomplete sets at the back where they are harder to find.
The frame is the most expensive part and the hardest to replace. Lay out the poles and check each one.
For orders under 100 tents, check at least 10% of sets. For orders over 100, check 5% but no fewer than 10 sets. This follows the common AQL 2.5 inspection standard used in garment and textile production — it gives a statistically reliable sample without opening every carton. If you find a pattern of defects (e.g., 3 out of 10 have bent poles), expand the check to 20% or more.
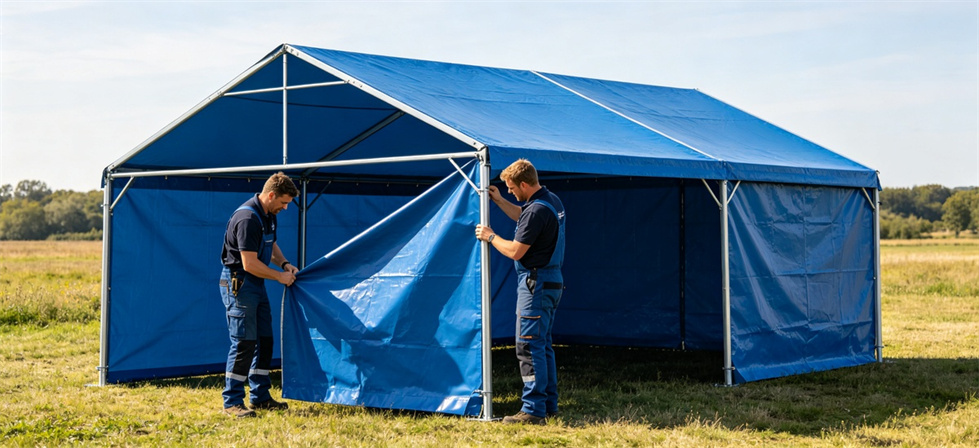
Small and large frame tents have different failure points, so adjust your focus:
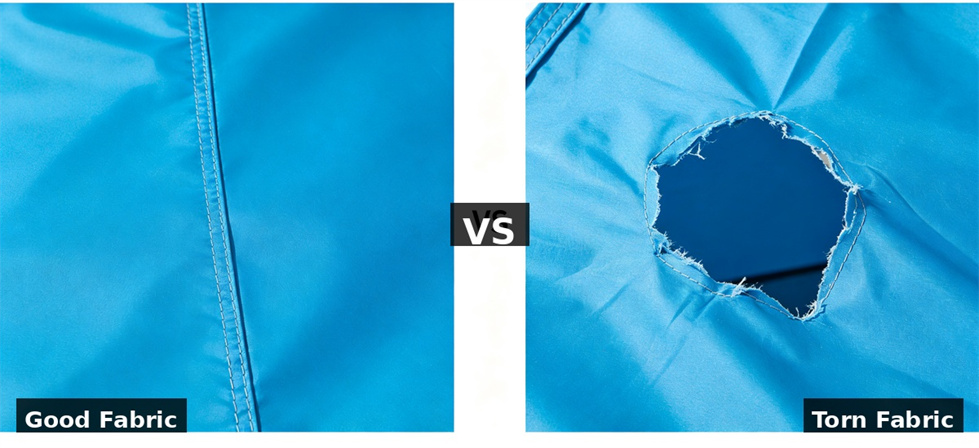
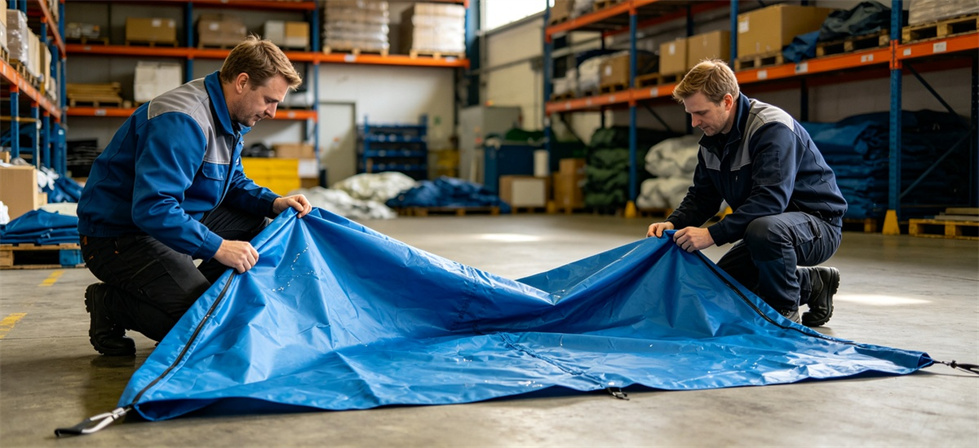
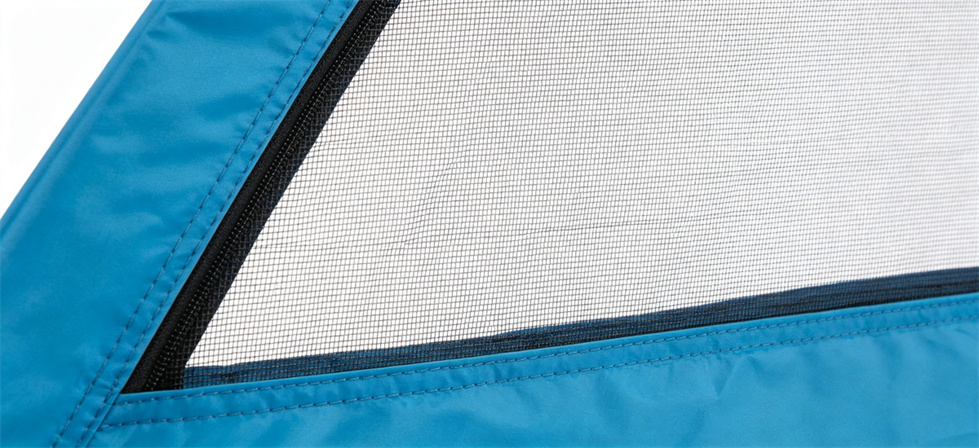
Unfold the cover fully — never inspect fabric while folded. A folded tent can hide tears, stains, and printing errors.
If you have a small precision scale, cut a 10 × 10cm sample from an unobtrusive corner (like the bottom edge of a wall panel). Weigh it in grams and multiply by 100 to get g/m². A 350g/m² fabric should weigh 3.5g for a 10×10cm sample. If you do not have a scale, compare the feel to a sample you approved — a 600g fabric is noticeably stiffer and heavier than 350g.
Key point: A small tear at a seam can be repaired, but a fabric that is the wrong weight or has widespread coating failure means the whole cover is defective. Separate these two categories when recording findings.

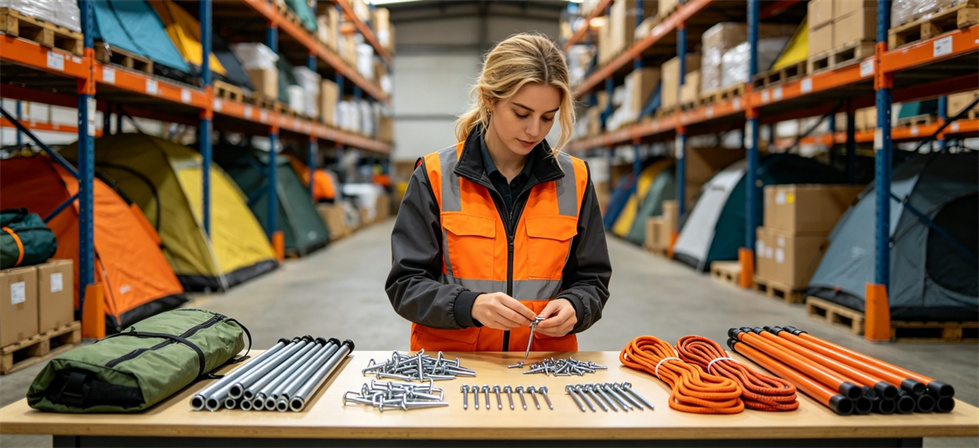
Small parts are the most commonly missing items — and the most likely to stop assembly. Open every accessory bag and count individually.
Weigh the accessory bag if you have a scale — a bag that is lighter than expected often means items are missing. Compare the weight to the supplier's packing list.
A trial assembly is the ultimate test — it proves the tent goes together and all parts fit. You do not need to assemble every tent, but you should assemble at least one set per model and per production batch.
Record the assembly time and any difficulties. As a reference, a 12m² frame tent should assemble in 15-30 minutes with 2-3 people. A 32m² tent takes 30-45 minutes with 3-4 people. A tent that takes twice as long or requires forcing parts together may have manufacturing defects or wrong components.
What to do: Record exactly which part is missing (pole length, diameter, joint type), how many sets are affected, and the carton number. Contact the supplier with photos and request replacement parts. Do not accept incomplete sets — a tent with one missing pole is unusable.
What to do: Minor bends can sometimes be straightened, but poles with kinks or creases should be replaced. Bent poles weaken the structure and can cause the tent to collapse in wind. Record the batch number — if many poles are bent, the packaging or transport method is at fault.
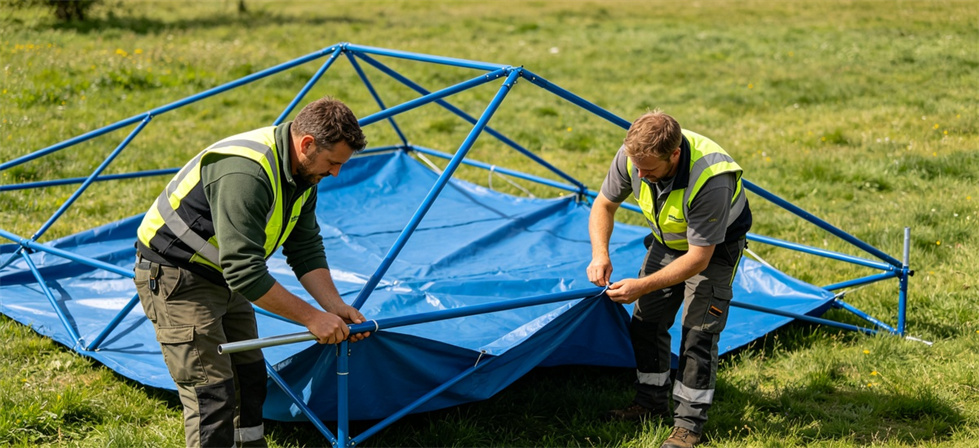
What to do: Small tears (under 5cm) can be patched with the repair kit. Larger tears or seam failures mean the cover is defective. Separate defective covers and request replacements. Check whether the tear is from shipping (sharp pole through fabric) or from manufacturing (poor stitching).
What to do: This is a specification mismatch, not damage. Weigh a sample of fabric and compare to the ordered specification. If the weight is wrong, the whole batch may be affected — expand your check. Document with photos and a weight measurement, then contact the supplier to discuss replacement or a price adjustment.

What to do: If your project requires waterproof test reports, fire certificates, or other compliance documents, note their absence immediately. Do not assume they will arrive later — request them in writing with a deadline. Documents for one model cannot be used for a different model.
What to do: This is the most deceptive problem. Suppliers may pack all the poles in one carton and all the covers in another, making it look like the count is correct while individual sets are missing parts. Always open and reconcile by complete set, not just by carton count.

What to do: If cartons get wet during unloading, move them to a covered area immediately. Open wet cartons first and check for water damage. Wet fabric can mildew within 48 hours if left folded and damp. If the frame poles got wet, dry them before storage to prevent rust. Record which cartons were wet and take photos — this may be a transport claim rather than a supplier defect.
Once inspected, how you store the tents matters as much as how you checked them. Poor storage can turn a perfect shipment into a defective one in a few months.
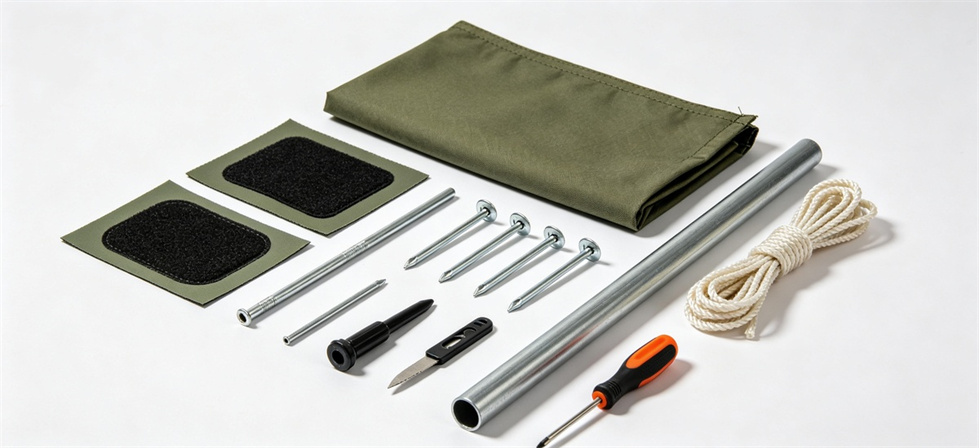
Use this one-page summary at the warehouse. Tick each item as you go, and attach it to your receiving record.
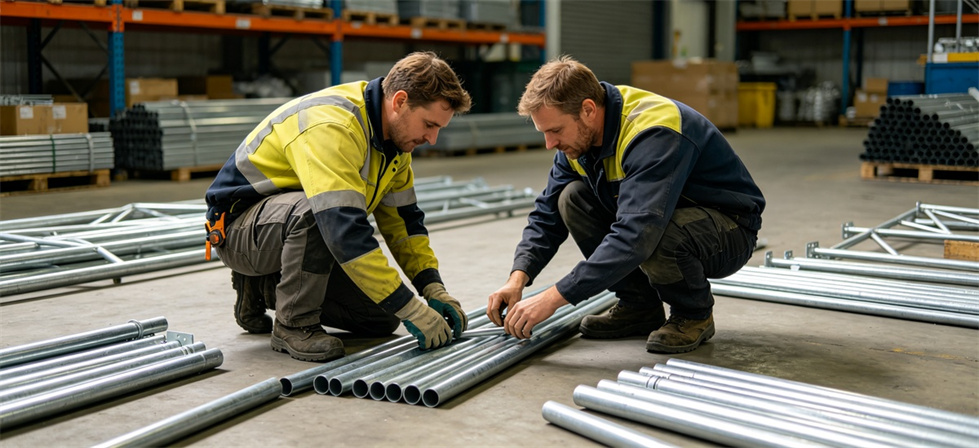
Keep a completed checklist for each batch. If you find defects in more than 5% of inspected sets, expand the inspection and contact the supplier before accepting the shipment.
A good inspection record is one that someone who was not present can understand and act on. Include these details for every finding:

Send this record to the supplier within 48 hours of inspection. Delays make it harder to prove when the damage occurred and can weaken your claim.
All of these inspection steps exist because not every supplier packs and ships tents the same way. A supplier who uses itemised packing, clear labelling, and pre-shipment quality checks will pass your receiving inspection with far fewer issues.
At YRF Textile, we supply galvanised steel frame tents from 12m² family shelters to 60m² storage and command tents. Every order ships with an itemised packing list that lists each component group, setup instructions in English, and a standard repair kit per tent. We also offer inflatable tents for rapid deployment scenarios where frame tents are too slow to set up.

We can provide fabric weight certificates, waterproof test reports, and production photos on request. For large orders, we welcome third-party inspection before shipment — this catches issues at the factory, before the container leaves China, saving time and freight costs. If you are planning a frame tent order and want to know more about our packing methods, inspection process, or available sizes, view our frame tent range or contact us directly.
Receiving inspection is not about finding fault — it is about making sure the frame tents you paid for can actually be deployed when people need shelter. A systematic check of packing, frame, fabric, accessories, and a trial assembly when needed will catch 95% of problems before they reach the field.

Take the time to inspect frame tents properly on delivery, and you will avoid the much bigger cost of discovering defects in the middle of a disaster response.
No. For most orders, inspect 5-10% of sets visually, and do a trial assembly of at least one set per model and per batch. Expand the check if you find a pattern of defects. Full assembly of every tent is only needed for very small orders or when visual inspection found major issues.
For orders under 100 tents, check at least 10%. For orders over 100, check 5% but no fewer than 10 sets. Always inspect cartons from different positions in the container — front, middle, and back. If defects are found, increase the sample to 20% or more.

Can I accept a tent with a small fabric tear?
Small tears under 5cm can usually be repaired with the patch kit and are acceptable if repaired properly. Larger tears, seam failures, or coating defects mean the cover is defective and should be replaced. Always check whether the tear affects waterproofing — a tear at a seam will leak even after patching.
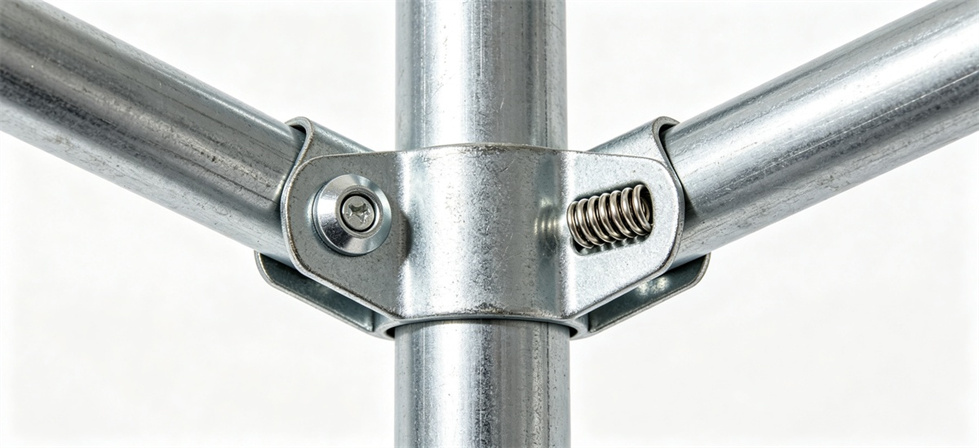
What if the carton count is correct but sets are incomplete?
This is a common packing trick — suppliers may separate components into different cartons so the total count looks right. Always open and reconcile by complete set: frame + cover + accessories + documents. If one set is missing a pole, that set is incomplete regardless of how many cartons arrived.
Should I do a waterproof test at receiving?
A full waterproof test requires a spray chamber or controlled water test, which is not practical at most warehouses. Instead, check the fabric coating integrity (rub with a damp cloth), verify the fabric weight matches the specification, and request a waterproof test report from the supplier. If you have serious doubts, set up one tent and spray it with a hose for 10 minutes.
How long do I have to report issues after delivery?
Report issues within 48 hours of inspection for the strongest claim. Most supplier contracts allow 7-14 days for receiving inspection, but delays make it harder to prove when damage occurred. Take photos immediately, even if you have not finished the full inspection.
What should I do with defective tents?
Segregate them immediately in a marked "hold" area so they do not get mixed with accepted stock. Record the quantity and issue, then contact the supplier for replacement, credit, or repair. Do not return defective tents before agreeing on the process with the supplier — return freight can be expensive.
Yes, and for large orders we recommend it. A third-party inspector checks the goods at the factory before shipment, catching defects while they are still easy and cheap to fix. YRF Textile welcomes pre-shipment inspection by SGS, BV, or any recognised agency. Contact us to arrange it.
✅ Discover our complete range of emergency inflatable tents for disaster relief bulk procurement. Ideal for field medical stations, emergency refuge and on-site command. Click to view all models, check technical documents and get your bulk quotation.
We supply galvanised steel frame tents from 12m² to 60m², with itemised packing lists and pre-shipment inspection available. Contact us for a quotation or to discuss your inspection requirements.
 |
 |
|
|
|
Links amigáveis :
direito autoral © Custom Disaster - Relief Bedding: Tents, Sleeping Bags, Blankets Todos os direitos reservados
a equipe profissional para o serviço !